It’s a Drone’s Life – Lessons Learned From Taking Up Drone Photography
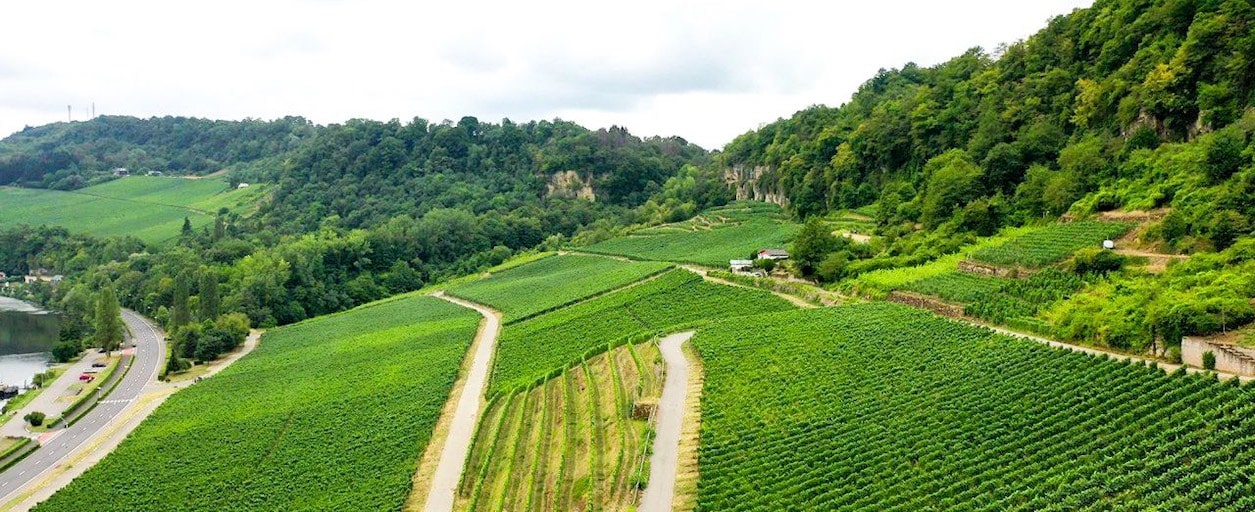
In order to improve the quality and variety of pictures that I take, I’ve been talking about getting a drone for the longest time. I’ll be the first to admit that part of it was because I love new gadgets and toys and a drone ticks those boxes. However I genuinely wanted to get shots that no-one else would have, and to get in on this as early as possible before everyone’s mobile phone is also a drone.
Having played with toy drones for a number of years and learning that they’re damn near impossible to fly, I was initially hesitant on getting a “real” drone that cost many times more. After a lot of reading and comparing different drones, my fears were assuaged after reading about all of the safety measures and cleverness that goes into a modern drone. This meant I wouldn’t actually be scared to fly the thing.
To buy or not to buy
After months of reading reviews, comparing manufacturer specs and watching YouTube videos, I eventually settled on a DJI Mavic 2 Pro. Ultimately this was for two reasons. Firstly I was impressed by the array of sensors and other clever features that would keep my drone safe. It has sensors on all six sides to prevent collisions (for example with a tree or the ground), as well as artificial limitations to prevent exceeding a proscribed altitude when near flight-paths or other restricted areas. The second thing was the hugely impressive Hasselblad camera that is mounted on a gimbal in the front of the drone. The DJI Mavic 2 Zoom was tempting for a while for its impressive video and dolly work, however I wanted to take a mixture of videos and pictures, so the Hasselblad won out.
I’m far from a professional photographer so the suite of software both on the drone and the DJI app helps me a lot. However as I learn more about taking good pictures and videos, I also know I have the ability to fine tune these settings when I need to.
After having it for almost a year now, if I’m honest with myself I’m still not completely convinced it was a great purchase. Don’t get me wrong, when flying it it’s a load of fun and never fails to impress friends and family. But there’s a lot of hidden costs and fails that I, at least, was not prepared for and never read about prior to buying it.
Extras
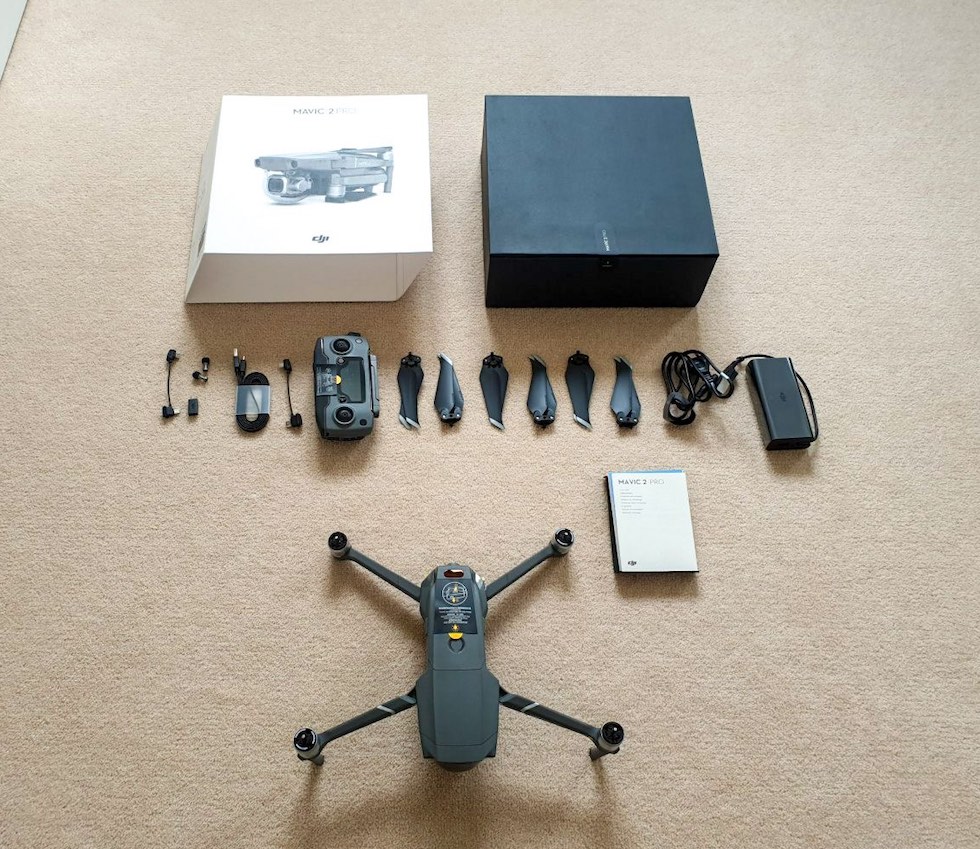
As with most tech these days, you can’t just get whatever it is. You need extras: add-ons, dongles, cables, batteries, cases. A drone is no different. The “basic” package gives you the drone including one battery and the controller, some spares and that’s about it.
The first thing you should then look at is extra batteries. The battery lasts about 20-25 minutes based on wind conditions and how you fly it. If you’re pushing the drone around a field and trying to be aerobatic, expect the battery to drain quicker than if you’re hovering and adjusting slightly for that perfect picture.
When taking off and landing on a grass field, you’ll notice that the propellers can chop up the grass like a whipper snipper, so you’ll want some spare propellers, too. And of course you’ll want to carry it around in something designed to take it and protect it as opposed to your backpack or a handbag. Travelling on the road? A car charger is essential to recharge your batteries (and the controller!) while driving. This all quickly adds up. All of this can be acquired with the Fly More kit. You may also want to invest in some extra SD cards as the drone’s onboard memory is quite small and it can take some time to transfer images from it to your laptop. You can see everything I bought below.
Some Assembly Required
Now the fun part of flying it can begin. But not too fast. Don’t forget that in some countries like the UK you’ll need to register your drone. This is pretty quick and basic and consists of reading some material and then doing an online test. The key points to remember are the distances to keep and in what situations. And if you don’t have one, find someone with a labeller to easily mark your drone as being registered.
Right, now we can fly, right? Sort of. You’ll need the DJI app for your iPhone or Android. DJI GO 4 for the Mavics. This will want to update its database and maps first. You’ll then probably need to update the firmware of the drone itself. Note that each battery contains firmware, so these will all need to be updated at some point. Best to fire this all up at home and update while on wifi, otherwise your cell phone data usage could skyrocket.
Ok, now we can fly. This is the fun part. I recommend watching a couple of tutorial videos first, but otherwise things are fairly obvious and intuitive. Plug the controller into your phone, turn everything on and you should see flashing lights, beeps and footage from the camera on your phone. Now to find a safe place to fly…
Drones don’t like the rain. If you’re in the UK, like me, this can severely limit your flying days. And after doing your online test you’ll know that you really shouldn’t fly near houses or buildings without prior approval. So then it’s off to a field or a park on a day that has no rain and no heavy winds. Easy.
Up, up and away!
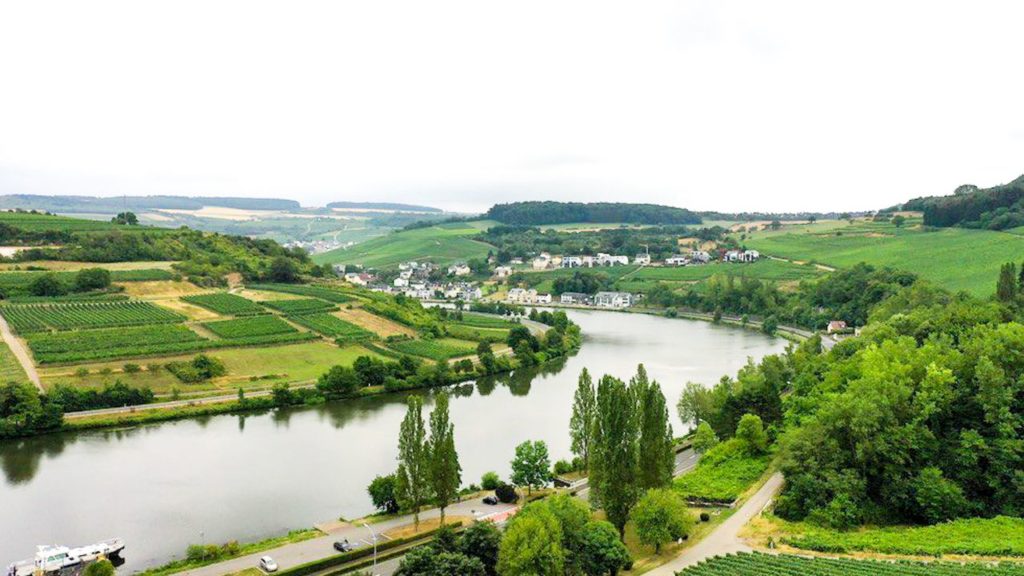
Now we’re flying! I cannot recommend enough that you get your flying hours in. While the basics can be figured out in a matter of minutes, fine tuning your skills to keep the drone filming smoothly and to learn the cool features takes time and practice. So fly, fly, fly while you can and while there’s no pressure.
The DJI app nicely tracks your flying paths and flying time, so you can see how you’re doing. I would recommend getting at least 10 hours in before using it to take serious photos or videos.
Pilot Error
It pays to pay attention at all times and about all things related to your drone. In preparation for a road trip across Central Europe where we were going to be visiting some spectacular locations, I finished up a practice flight and went to charge everything up. At this point, it turns out, I broke the charging and connection port of the controller, simply by putting the USB-A plug in the wrong direction accidentally. The drone was now unusable and at the worst possible time.
As I found out, this was a common issue and has caused much frustration amongst the DJI community. Frustratingly if I’d invested in the standalone controller then this would never have been a problem. So now I was on the road without a drone. What a waste. Back home and €120 later I was sent a new replacement controller. Now I’m (justifiably?) paranoid every time I go to charge the controller.
Travel Restrictions
Like with any other electrical device, travelling on aircraft with batteries is allowed with some conditions. As a rule, drone batteries are ok to bring on board (some of the bigger heavy duty ones have restrictions, however), but they should really be enclosed in a protective case to prevent sparks and contain any fires. I’ve never had any problems bringing my drone and batteries through airport security when bundled with these.
If travelling to another country with your drone, it is also vitaly important that you research whether drones are even allowed. Despite a search on-line, I had a rude awakening where my drone was confiscated when arriving in Morroco. Granted I only did a cursory glance online before flying, however as it turns out the ban has been in place since 2015 so completely my fault. After a €20/201MAD “storage fee” I got the drone back when departing. Since then I’ve been a lot more thorough in checking local drone regulations.
For countries that do allow drones without special permits, there are a few standard things to be aware of:
- No flying over or near airports, military, police or other government premises
- No flying in congested areas
- No flying close to people (withour prior permission)
- Don’t exceed 120 metres altitude
- Keep LoS (Line of Sight) of your drone at all times

Otherwise check local regulations as they can and do vary. Drone Traveller is an excellent resource for this and often has links to official guidelines if they exist.
No Regrets…. Sort of
As it stands I’m happy I got the drone as a way to get into the field and learn as much as I can. Without having the downtime I had due to a broken controller and country restrictions, I’m sure I would have flown it a lot more and taken a lot more amazing footage and shots. If, by some miracle, I had known what would happen, then I would have probably held off on buying it for now and waited for the next generation to come out.
But don’t let this discourage you from getting one. All I would advise is to seriously think about the usage you will get out of your investment (and it is an investment, not a toy). If you feel you have plenty of opportunities for flying and filming, then by all means proceed. However if you’re not travelling much and in areas of questionable weather, then perhaps have a re-think and see what future technology is coming.